
Creating a custom wine cellar is a rewarding project that enhances both your wine collection and the ambiance of your space. To design a perfect wine cellar, you need to consider several important factors. Here’s a step-by-step guide to help you create the ideal custom wine storage solution.
1. Define the Type of Wine You’re Storing
First, identify the types of wines you plan to store. This is crucial in deciding whether you need a climate-controlled system. Wines like red wines are particularly sensitive to temperature and humidity, which is why a constant climate is often necessary. If you’re storing valuable wines or plan to age them over time, a temperature control system is a must. Keep in mind that temperature control custom wine cellars with climate control systems are more complex, requiring insulation and refrigeration systems. As a result, they come with a higher budget, so plan accordingly.
2. Choose the Placement of Your Wine Cellar
Next, decide where your wine cellar cabinet will be located. Will it be a freestanding, upright unit, or will it be built into the wall as a recessed design? Both options have their advantages. A freestanding wine cellar offers more flexibility and storage capacity. However, an embedded design offers a sleek, integrated look that blends seamlessly with your home décor. Choose a location that is stable in terms of temperature and humidity, avoiding areas near direct sunlight, heat sources, or moisture.
3. Determine the Size and Storage Capacity
The size of your wine cellar is essential for its functionality. Define the dimensions—length, width, and height—based on the space available and your storage needs. Consider how many bottles you plan to store and whether your collection will grow over time. Custom wine cellars can be tailored to fit various bottle sizes, so make sure the shelving is designed for accessibility and efficient organization. This step will ensure that your wine cellar remains functional as your collection expands.
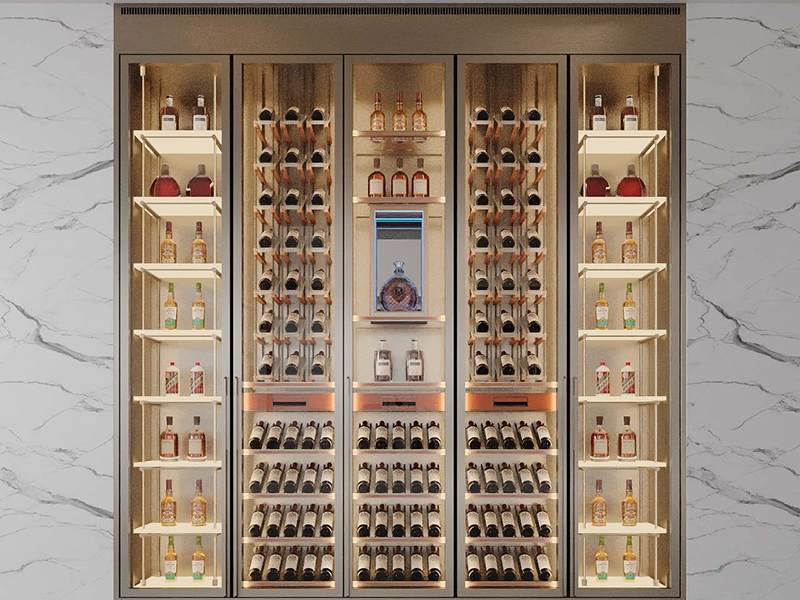
4. Design the Style and Materials
Work with a wine cellar specialist to finalize the design and materials. This is a crucial step in making your wine cellar both functional and visually appealing. Discuss the exterior and interior materials, including wood, metal, glass, or stone, to match your home’s aesthetic. Choose colors and textures that complement your living space while maintaining the integrity of the wine. Additionally, the design of the shelves is vital. They should be arranged to allow easy access while maximizing space for various bottle sizes. Don’t forget to consider the lighting. Proper lighting enhances the beauty of the wine cellar and helps showcase your collection without harming the wine.
5. Plan for Installation
Lastly, consider the installation process. Ensure the installation path is clear and wide enough for moving large wine cellar units. Measure doorways, hallways, and elevators to confirm that your wine cellar can be easily transported and installed without complications. If the cellar is large or complex, you may need to disassemble it for transport and reassemble it on-site. Work with professional installers to avoid delays or damage during the installation process.
Building a custom wine cellar requires careful planning and attention to detail. From determining the type of wine and storage conditions to choosing the right location and materials, each step is essential for creating a wine cellar that fits both your needs and aesthetic preferences. By working closely with experts and considering the installation logistics, you’ll ensure that your custom wine cellar is both a functional and beautiful addition to your home.